Having beautifully polished nails can instantly elevate your overall look and boost your confidence.
Whether you’re a nail polish novice or a seasoned DIY enthusiast, this ultimate guide will provide you with step-by-step instructions and essential tips to help you achieve a professional-looking manicure at home.
From prepping your nails to applying polish with precision, we’ve got you covered.
Step 1: Preparing Your Nails
Before diving into the nail polishing process, it’s crucial to properly prepare your nails. Follow these steps to ensure a smooth and long-lasting application:
Clean and Shape: Start by removing any existing nail polish using a gentle nail polish remover. Then, use a nail file to shape your nails to your desired length and shape.
Opt for a shape that suits your personal style and complements the shape of your fingers.
Soak and Exfoliate: Prepare a bowl of warm water and add a few drops of gentle soap or a moisturizing bath oil. Soak your hands for a few minutes to soften the cuticles.
Afterward, use a cuticle pusher or a wooden stick to gently push back the cuticles. Exfoliate your hands and nails using a scrub or a soft brush to remove any dead skin cells.
Moisturize: Apply a nourishing hand cream or cuticle oil to hydrate your hands and nails. Massage the cream or oil in circular motions to stimulate blood circulation and promote healthy nail growth.
Step 2: Applying Base Coat
A base coat acts as a protective layer between your nails and the colored polish. Follow these steps to apply a base coat effectively:
Choose a Base Coat: Select a base coat that suits your specific nail needs. Some base coats offer strengthening properties, while others provide smoother application or help prevent staining.
Apply Thin and Even Coat: Start by applying a thin layer of the base coat to each nail. Begin in the center of the nail near the cuticle and gently stroke the brush toward the tip in a smooth motion. Repeat this process for each nail, ensuring even coverage.
Allow to Dry: Give the base coat sufficient time to dry. It’s essential to let each layer dry fully before applying the next to prevent smudging or bubbling.
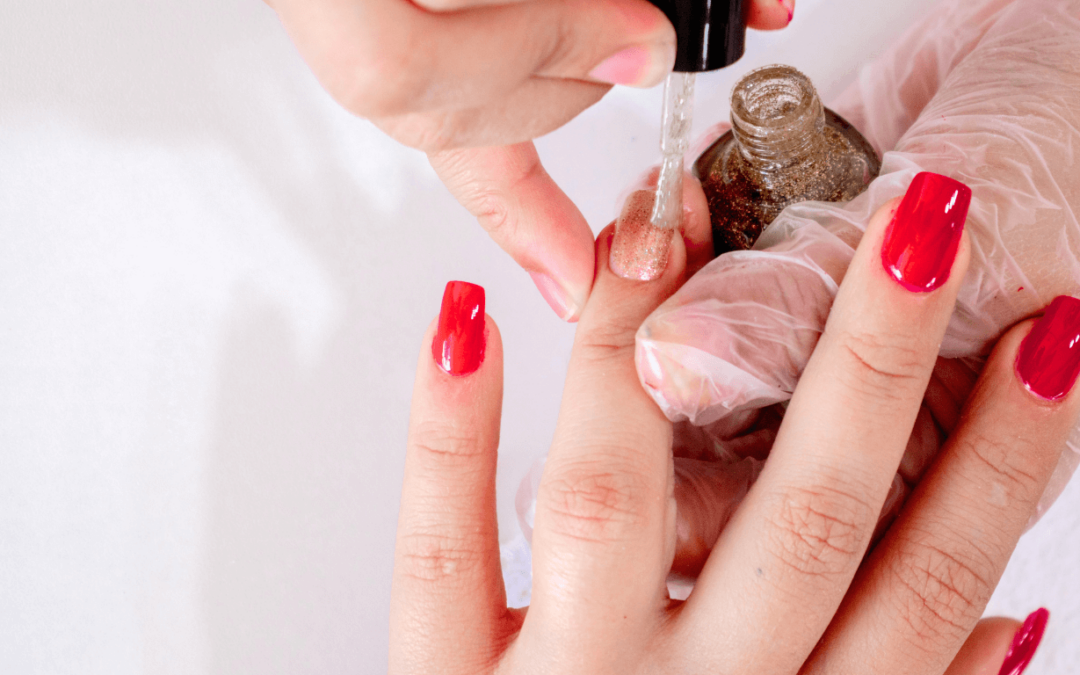
Step 3: Applying Nail Polish
Now comes the fun part—applying the nail polish. Follow these steps for a flawless application:
Choose Your Nail Polish: Select a nail polish color that complements your style and mood. Consider seasonal trends, your outfit, or your personal preferences when choosing the shade.
Prepare the Polish: Before applying the polish, gently roll the bottle between your palms to mix the color and avoid air bubbles. Avoid shaking the bottle vigorously, as it can create bubbles that affect the application.
Apply Thin Coats: Begin with a thin coat of polish. Starting near the cuticle, apply the polish in gentle, even strokes, moving toward the tip of the nail.
Use three strokes: one in the center and one on each side. Avoid applying excessive pressure or multiple strokes, as this can cause streaks or unevenness.
Allow to Dry: Let each coat dry fully before applying the next. Depending on the polish and environmental conditions, this can take anywhere from a few minutes to 10-15 minutes. Patience is key to achieving a smooth and flawless finish.
Apply Additional Coats: If desired, apply a second or third coat of polish for a more intense color payoff. Ensure each coat is fully dry before applying the next.
Cleanup: If you make any mistakes or accidentally get polish on your skin, dip a small brush or cotton swab in nail polish remover and carefully clean up the edges for a clean and polished look.
Step 4: Applying Top Coat
To seal and protect your nail polish, a top coat is essential. Follow these steps for a glossy and long-lasting finish:
Choose a Top Coat: Select a top coat that suits your preferences, such as a quick-drying top coat, a high-shine top coat, or a gel-like top coat. Each offers different benefits, so choose one that aligns with your needs.
Apply Thin and Even Coat: Similar to the base coat, apply a thin and even layer of top coat to each nail. Start from the cuticle and glide the brush toward the tip, ensuring complete coverage.
Seal the Edges: To prevent premature chipping, lightly brush the top coat along the free edge of each nail. This helps seal the polish and provides extra protection.
Allow to Dry: Allow the top coat to dry completely. Depending on the type of top coat, this can range from a few minutes to around 15 minutes. Avoid any activities that may cause smudging or denting during this time.
Step 5: Finishing Touches
Clean Up: Once your nails are completely dry, clean up any excess polish on your skin or cuticles using a small brush or cotton swab dipped in nail polish remover.
Moisturize: Finish your manicure by applying a nourishing cuticle oil or hand cream. Gently massage it into your cuticles and hands to keep them hydrated and maintain healthy nails.
Enjoy Your Polished Nails: Admire your perfectly polished nails and show them off with pride! Your manicure should last for several days with proper care and maintenance.
Nail Polish Drying Time: The drying time of nail polish can vary depending on several factors such as the brand, formula, number of coats, and environmental conditions.
Generally, nail polish dries to the touch within 5-10 minutes, but it can take up to 1-2 hours to fully cure and harden.
To speed up the drying process, you can try using a quick-drying top coat or apply thin coats of polish.
Avoid Smudging: To prevent smudging your freshly painted nails, it’s essential to avoid any activities that could accidentally ruin your manicure.
Be cautious when reaching for items, opening cans, or handling objects immediately after polishing your nails. If you’re in a rush, you can use a nail polish drying spray or drops to accelerate the drying process.
Tips for Long-Lasting Polish: To extend the lifespan of your polished nails, there are a few tips you can follow.
Firstly, always remember to apply a base coat as it helps the polish adhere better to the nails.
Secondly, avoid exposing your nails to excessive water, as prolonged exposure can cause chipping and peeling.
Additionally, consider wearing gloves while doing household chores or engaging in activities that may put stress on your nails.
Nail Polish Remover Options: When it’s time to remove your nail polish, it’s important to use a gentle nail polish remover that doesn’t excessively dry out your nails.
Acetone-based removers are effective at removing stubborn polish, but they can be drying. Non-acetone removers are a milder alternative, suitable for those with sensitive nails.
Consider choosing a remover with added moisturizing ingredients to keep your nails healthy.
Nail Polish Storage Tips: Properly storing your nail polish can help maintain its quality and prevent it from drying out. Store your polish in a cool, dry place, away from direct sunlight or extreme temperatures.
Make sure the cap is tightly sealed after each use to prevent air exposure, which can cause the polish to thicken or become clumpy over time.
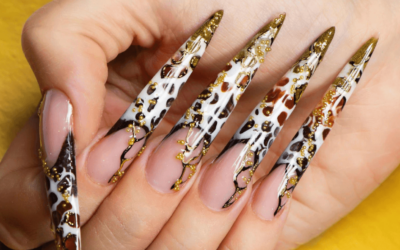
Nail Polish Finishes: Nail polishes come in various finishes, each offering a different look. Common finishes include cream, shimmer, metallic, glitter, and matte.
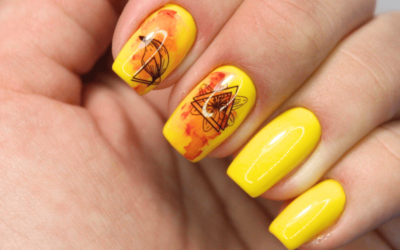
Experimenting with different finishes can add versatility to your nail polish collection and allow you to create diverse nail art designs.
Remember, practice makes perfect when it comes to polishing your nails. Don’t be discouraged if you don’t achieve salon-quality results right away.
With time and patience, you’ll improve your technique and develop your own unique style. Enjoy the process of pampering your nails and let your creativity shine through!
With these step-by-step instructions and expert tips, you’re now equipped to polish your nails like a pro.
Experiment with different colors, finishes, and nail art techniques to express your personal style and creativity. Enjoy the process and have fun creating beautiful, salon-worthy manicures at home!
Related Articles
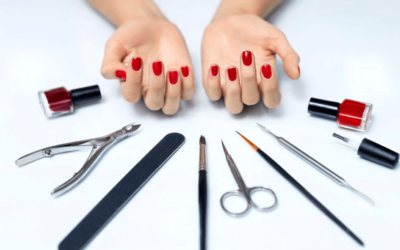
What Are the Nail Care Tools: A Comprehensive Guide
Sunflower Acrylic Nails: Nature’s Radiance on Your Fingertips
Sunset Nail Design: Artistry of Dusk on Your Fingertips
Taylor Swift’s Nails: A Fashionable Journey through Iconic Manicures

Teddy Bear Nails: Adorable Nail Art with Cuddly Charm
Tico Nails: Pura Vida Vibe with Costa Rican Nail Art
Toe Nail Designs with Flowers: Nature’s Beauty on Your Toes
Toe Nail Designs With Rhinestones: Sparkle and Glamor for Your Toes

Toe Nail Doctor: Expert Care for Healthy and Beautiful Toenails
Trendy Medium Length Square Acrylic Nails
Trippy Smiley Face Nails: Psychedelic Nail Art for a Colorful Journey
Tropical Beach Themed Nails: Paradise with Stunning Nail Art

Two-Tone Ombre Almond Nails: A Stylish Fusion of Nail Trend
Types of Nail Extensions: A Guide to Enhance Your Nail Beauty