Welcome to the ultimate guide for all nail enthusiasts who are eager to achieve stunning dip nails from the comfort of their own homes.
In this comprehensive article, we will delve into the world of dip nails, uncovering the secrets to flawless application, long-lasting results, and captivating nail art designs.
Whether you’re a seasoned nail artist or a beginner looking to experiment, this guide will equip you with the knowledge and techniques needed to achieve salon-quality results.
So, grab your favorite polish colors and let’s dive in!
Understanding the Magic of Dip Nails
Dip nails, also known as SNS nails or powder nails, have gained immense popularity in recent years. This nail enhancement technique involves applying a colored powder over a base coat to achieve a durable, chip-resistant, and shiny finish.
Unlike traditional gel or acrylic nails, dip nails don’t require UV or LED curing, making them a convenient option for home use. The versatility and wide range of colors available make dip nails a favorite choice among nail enthusiasts.
Prepping Your Nails for Dip Application
Before diving into the dip application process, it’s crucial to prepare your natural nails properly. Begin by removing any existing polish and shaping your nails to the desired length.
Gently push back your cuticles and remove any excess skin. To promote better adhesion, lightly buff the surface of your nails using a buffer block.
This step creates a smooth canvas for the dip powder, ensuring long-lasting results.
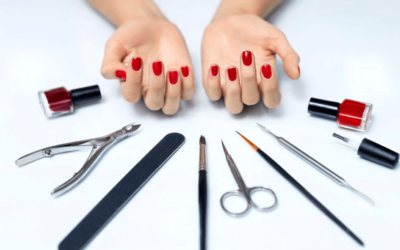
Choosing the Perfect Dip Kit
To achieve salon-quality dip nails at home, it’s essential to invest in a high-quality dip kit. Look for a kit that includes essential components such as a base coat, activator, top coat, dip powder, and brushes.
Consider the reputation of the brand, read reviews, and opt for kits that provide detailed instructions for beginners.
Don’t forget to choose a kit that offers a wide range of colors, allowing you to unleash your creativity and experiment with different styles.
Mastering the Dip Application Technique
The application technique plays a crucial role in achieving flawless dip nails. Start by applying a thin layer of base coat to one nail, making sure to cover the entire surface.
Immediately dip the nail into the colored powder at a 45-degree angle and gently tap off any excess powder. Repeat this process for each nail, ensuring even coverage and smooth transitions between colors.
Once the powder has set, apply the activator to harden the dip and create a solid foundation. Finish off with a generous layer of top coat for a glossy, long-lasting finish.
Tips for Long-Lasting and Durable Dip Nails
To extend the lifespan of your dip nails, follow these essential tips:
Avoid exposing your nails to excessive water, especially in the first 24 hours after application. Apply cuticle oil regularly to keep your nails and surrounding skin hydrated.
Wear gloves when engaging in household chores or activities that may cause your nails to come into contact with harsh chemicals or excessive friction.
Be gentle with your nails and avoid using them as tools to prevent chipping or lifting. Schedule regular maintenance, such as filing and reshaping, to keep your dip nails looking their best.
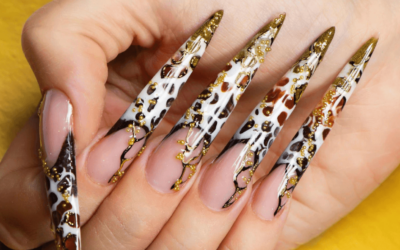
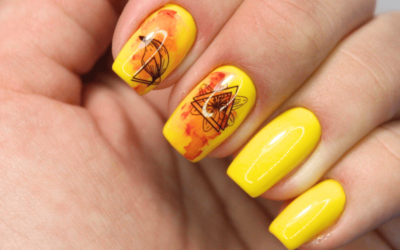
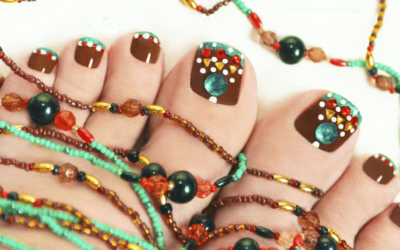
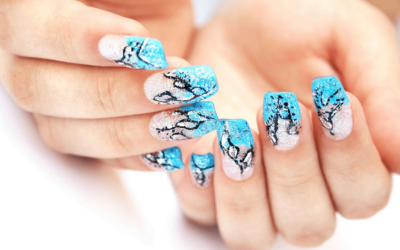
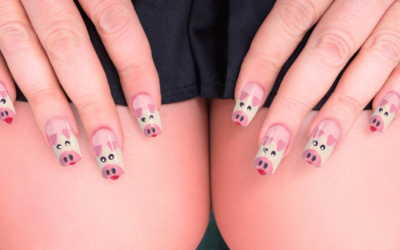
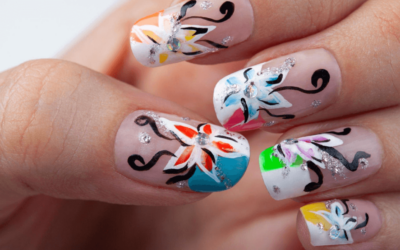
Exploring Creative Nail Art Designs
One of the most exciting aspects of dip nails is the opportunity to create stunning nail art designs. Let your imagination run wild as you experiment with various techniques, including ombré, marble effects, glitter accents, and intricate patterns.
Use nail art brushes, dotting tools, or even household items like toothpicks and tape to achieve unique designs. Don’t forget to seal your masterpiece with a top coat to ensure longevity and preserve the beauty of your nail art.
Safely Removing Dip Nails at Home
When the time comes to remove your dip nails, it’s crucial to do so safely to avoid damage to your natural nails. Begin by gently filing the shiny top layer of the dip nails to break the seal.
Soak a cotton ball in acetone and place it on each nail, securing it with aluminum foil. Allow the nails to soak for 10-15 minutes, and then gently slide off the remaining dip using a cuticle pusher or wooden stick.
Be patient and avoid forcefully scraping off the dip, as this can cause nail damage.
Troubleshooting Common Dip Nail Issues
Even with proper technique, you may encounter common issues with dip nails. Some of these include lifting, chipping, uneven application, or air bubbles. Fear not! We’ve got you covered with troubleshooting tips to overcome these problems.
From ensuring proper nail prep to using the right brush strokes and powder application techniques, you’ll find solutions to common dip nail issues to help you achieve flawless results every time.
Frequently Asked Questions (FAQs)
Q1: Can dip nails be done on natural nails?
A1: Yes, dip nails can be applied directly to natural nails, providing additional strength and protection.
Q2: How long do dip nails typically last?
A2: With proper application and care, dip nails can last for up to three to four weeks.
Q3: Can I remove dip nails without acetone?
A3: While acetone is the most effective method for dip nail removal, alternative methods using buffing or soaking in warm soapy water can also be employed.
Conclusion
Congratulations! You’ve now mastered the art of achieving stunning dip nails from the comfort of your own home.
By following the steps outlined in this ultimate guide, you can unleash your creativity, experiment with captivating nail art designs, and enjoy long-lasting, salon-quality results.
Remember, practice makes perfect, so don’t be afraid to try new techniques and colors. With your newfound knowledge, you’re ready to dive into the world of dip nails and create stunning manicures that will leave everyone in awe!
Related Articles
What Are the Nail Care Tools: A Comprehensive Guide
Sunflower Acrylic Nails: Nature’s Radiance on Your Fingertips
Sunset Nail Design: Artistry of Dusk on Your Fingertips
Taylor Swift’s Nails: A Fashionable Journey through Iconic Manicures

Teddy Bear Nails: Adorable Nail Art with Cuddly Charm
Tico Nails: Pura Vida Vibe with Costa Rican Nail Art
Toe Nail Designs with Flowers: Nature’s Beauty on Your Toes
Toe Nail Designs With Rhinestones: Sparkle and Glamor for Your Toes

Toe Nail Doctor: Expert Care for Healthy and Beautiful Toenails
Trendy Medium Length Square Acrylic Nails
Trippy Smiley Face Nails: Psychedelic Nail Art for a Colorful Journey
Tropical Beach Themed Nails: Paradise with Stunning Nail Art

Two-Tone Ombre Almond Nails: A Stylish Fusion of Nail Trend
Types of Nail Extensions: A Guide to Enhance Your Nail Beauty