Achieving beautifully manicured nails with the perfect length and shape is now within your reach. Nail tips, also known as nail extensions, allow you to create stunning nail looks and add length to your natural nails.
Whether you’re a nail enthusiast or a beginner looking to explore the world of nail art, learning how to apply nail tips is an essential skill.
In this comprehensive guide, we’ll walk you through the step-by-step process of applying nail tips like a pro. Get ready to unleash your creativity and achieve salon-worthy nails from the comfort of your own home!
What Are Nail Tips?
Nail tips are pre-formed plastic or acrylic extensions that are applied to the natural nails to create length and shape.
They come in a variety of sizes, shapes, and designs, allowing you to customize your nail look according to your preferences.
Choosing the Right Nail Tips
Selecting the appropriate nail tips is crucial for achieving a natural and comfortable fit. Consider the following factors when choosing nail tips:
Size: Choose nail tips that match the width and curvature of your natural nails. It’s better to go for slightly larger tips that can be filed down for a perfect fit.
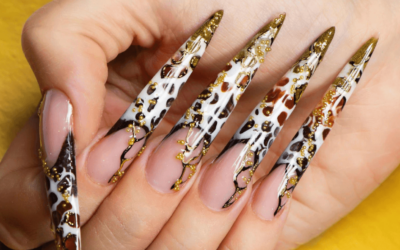
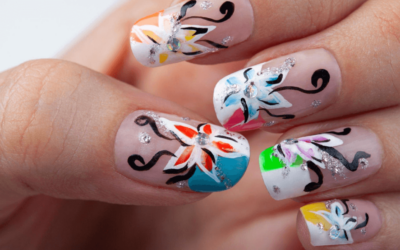
Shape: Nail tips are available in different shapes, such as square, round, oval, and stiletto. Select a shape that complements your style and preference.
Material: Nail tips are typically made of plastic or acrylic. Plastic tips are more flexible and easier to work with, while acrylic tips are more durable and suitable for longer-lasting manicures.
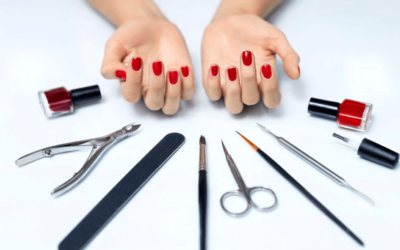
Preparing Your Natural Nails
Before applying nail tips, it’s essential to prepare your natural nails to ensure a smooth and long-lasting application. Follow these steps:
Cleanse: Remove any existing nail polish and cleanse your nails with nail polish remover to eliminate oils and residue.
Trim and File: Trim your nails to your desired length and file them to create a smooth surface. Avoid filing too aggressively, as it can weaken the natural nails.
Push Back Cuticles: Gently push back your cuticles using a cuticle pusher or an orangewood stick to create a clean nail bed.
Applying Nail Tips: Step-by-Step Guide
a. Nail Tip Sizing and Placement:
Size Selection: Select the appropriate size of nail tips for each nail by comparing them to your natural nails. Choose a slightly larger tip if in doubt, as you can always file it down for a perfect fit.
Placement: Apply a small amount of nail glue to the back of the nail tip and carefully press it onto the natural nail, aligning the tip with the edge of your natural nail. Hold it in place for a few seconds to ensure a secure bond.
b. Applying Nail Glue:
Preparation: Squeeze a small amount of nail glue onto a disposable surface or a nail glue holder for easy access during the application process.
Glue Application: Apply a thin, even layer of nail glue to the back of the nail tip, focusing on the area that will come in contact with your natural nail. Avoid applying too much glue, as it can cause the tip to lift or create a bulky appearance.
c. Securing the Nail Tips:
Press and Hold: Carefully press the nail tip onto your natural nail, starting from the cuticle area and moving towards the tip. Apply gentle pressure to ensure a secure bond.
Firm Adhesion: Hold the tip in place for a few seconds to allow the glue to set and create a firm adhesion. Avoid excessive movement or bending of the nail during this time.
d. Shaping and Blending:
Trimming: Use nail clippers or nail scissors to trim the nail tips to your desired length. Start with a longer length and gradually trim them down to avoid cutting them too short.
Filing: Use a nail file to shape the tips and blend them seamlessly with your natural nails. File in one direction to avoid weakening the tips or causing damage to the natural nails.
Maintaining Nail Tips
To ensure the longevity of your nail tips, follow these maintenance tips:
Regular Filing: Periodically file the tips to maintain the desired length and shape.
Nail Hygiene: Keep your nails clean and dry to prevent the accumulation of dirt and bacteria.
Protective Measures: Wear gloves when engaging in activities that may expose your nails to excessive moisture or harsh chemicals.
Removing Nail Tips
When it’s time to remove your nail tips, follow these steps:
Soaking: Soak your nails in warm, soapy water for about 10-15 minutes to soften the glue.
Gentle Removal: Use a cuticle pusher or an orangewood stick to gently lift and pry the nail tips from the natural nails. Avoid forceful or aggressive removal, as it can cause damage to the natural nails.
Nail Polish Remover: If there is any residual glue left on the nails, soak a cotton pad in nail polish remover and gently rub the nails to remove it.
Tips and Tricks for Flawless Nail Tip Application
Practice Makes Perfect: Don’t be discouraged if your first attempt isn’t flawless. Like any skill, nail tip application requires practice to master.
Prevent Lifting: Ensure that the nail tips are fully adhered to the natural nails to avoid lifting or premature detachment. Apply gentle pressure during the application process and avoid excessive exposure to water in the initial hours.
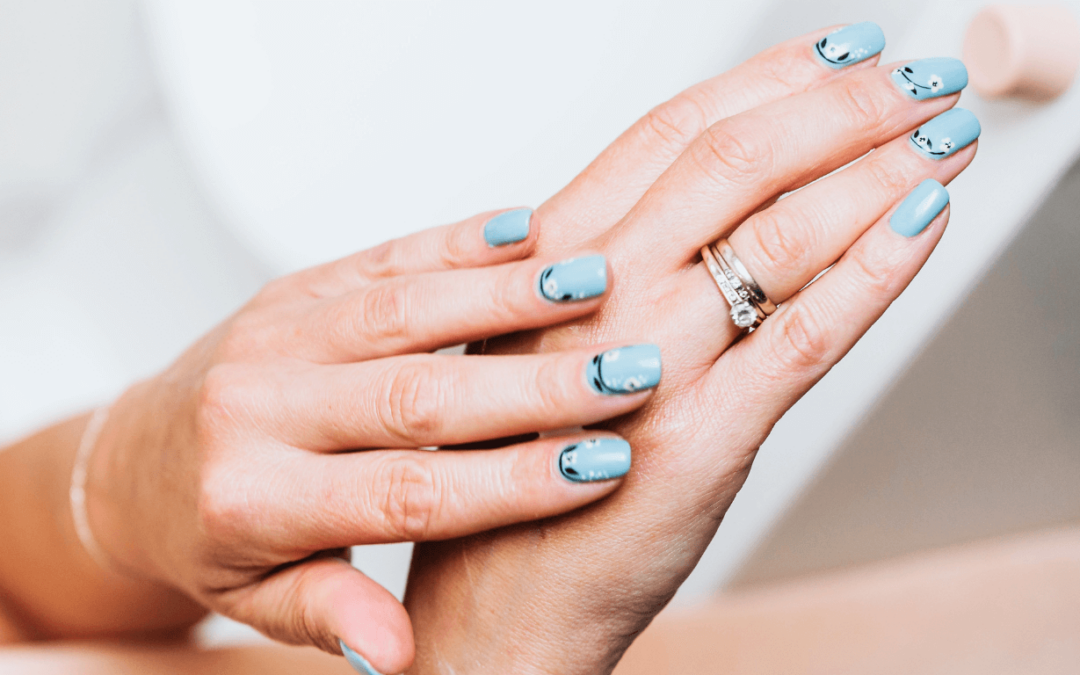
Finishing Touches: After shaping and blending the nail tips, apply a base coat, followed by your desired nail polish and a top coat for added durability and shine.
Conclusion
With the knowledge and techniques provided in this step-by-step guide, you can confidently apply nail tips to achieve stunning, salon-worthy nails.
Remember to choose the right nail tips, prepare your natural nails properly, and follow each step with care.
Whether you’re looking to experiment with nail art or desire longer, more glamorous nails, mastering the art of applying nail tips opens up a world of possibilities.
Embrace your creativity, have fun, and enjoy the satisfaction of flaunting beautiful, self-applied nails!
Related Articles
What Are the Nail Care Tools: A Comprehensive Guide
Sunflower Acrylic Nails: Nature’s Radiance on Your Fingertips
Sunset Nail Design: Artistry of Dusk on Your Fingertips
Taylor Swift’s Nails: A Fashionable Journey through Iconic Manicures

Teddy Bear Nails: Adorable Nail Art with Cuddly Charm
Tico Nails: Pura Vida Vibe with Costa Rican Nail Art
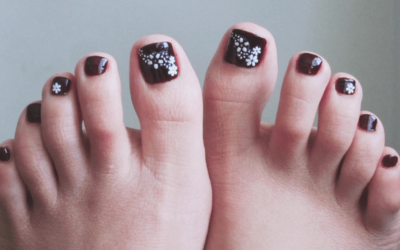
Toe Nail Designs with Flowers: Nature’s Beauty on Your Toes
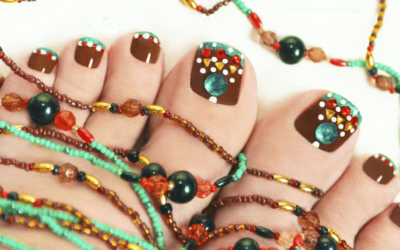
Toe Nail Designs With Rhinestones: Sparkle and Glamor for Your Toes
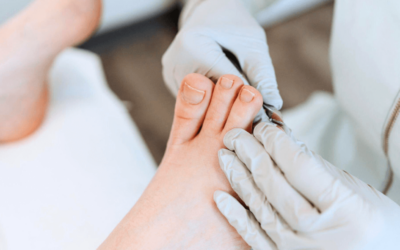
Toe Nail Doctor: Expert Care for Healthy and Beautiful Toenails
Trendy Medium Length Square Acrylic Nails
Trippy Smiley Face Nails: Psychedelic Nail Art for a Colorful Journey
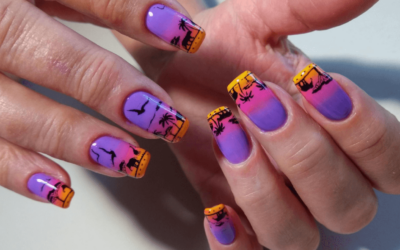
Tropical Beach Themed Nails: Paradise with Stunning Nail Art

Two-Tone Ombre Almond Nails: A Stylish Fusion of Nail Trend
Types of Nail Extensions: A Guide to Enhance Your Nail Beauty