
Dip powder manicures have gained popularity for their durability, longevity, and stunning finish. This innovative nail technique offers a salon-quality manicure that can be achieved in the comfort of your own home.
If you’re new to dip nails or looking to perfect your technique, this comprehensive guide will walk you through the step-by-step process of achieving beautiful dip nails.
From nail preparation to application and finishing touches, we’ll cover everything you need to know to achieve flawless results. Get ready to transform your nails with this trendy and long-lasting manicure!
Understanding Dip Nails: The Basics
Dip nails, also known as dip powder manicures, involve a multi-step process that results in a long-lasting and chip-resistant manicure.
The technique utilizes a special powder that is applied to the nails, creating a durable and glossy finish.
Unlike traditional nail polish, dip powder does not require UV curing and offers a quick-drying solution for achieving salon-quality nails.
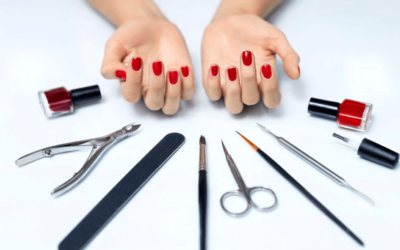
Essential Supplies for Dip Nails
Before you dive into the dip nail process, it’s important to gather all the necessary supplies. Here are the essential items you’ll need:
Dip powder: Choose a dip powder color of your choice. There is a wide range of colors and finishes available to suit your personal style.
Base coat: A quality base coat is crucial for ensuring proper adhesion of the dip powder to your nails. Look for a base coat specifically formulated for dip nails.
Activator: The activator is a key component of the dip nail process. It helps to set and harden the dip powder layers, creating a durable and long-lasting manicure.
Top coat: A high-quality top coat is essential for providing a glossy finish, sealing the dip powder layers, and protecting your manicure from chips and scratches.
Nail files and buffers: Nail files and buffers are essential for shaping and refining your nails. Look for gentle files and buffers to avoid damaging the nail surface.
Cuticle pusher: A cuticle pusher helps to gently push back your cuticles and create a clean base for the dip powder application.
Lint-free wipes: Lint-free wipes are necessary for removing excess powder and cleaning the nails throughout the process.
Step-by-Step Instructions for Dip Nails
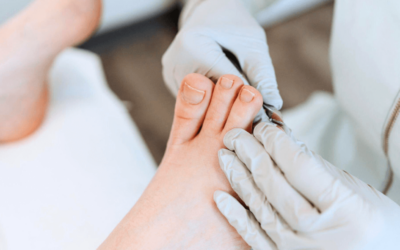
a. Nail Preparation:
Start by removing any existing nail polish and shaping your nails to your desired length and shape using a nail file. Gently push back your cuticles using a cuticle pusher.
Use a buffer to gently buff the surface of your nails to remove any shine and create a slightly rough texture. This will help the dip powder adhere better to the nails.
b. Base Coat Application:
Apply a thin layer of base coat to one nail at a time. Start from the cuticle area and brush towards the tip of the nail, ensuring even coverage.
Immediately dip the nail into the chosen dip powder color at a 45-degree angle. Gently tap off any excess powder. Repeat this process for each nail, working on one finger at a time.
c. Dip Powder Application:
Once all nails are coated with the base coat and dipped in powder, gently brush off any remaining excess powder using a brush or a lint-free wipe.
Repeat the base coat and dip powder application process one more time to achieve a solid and vibrant color.
d. Activator Application:
Apply a thin and even layer of activator to each nail. This step helps to set and harden the dip powder layers. Allow the activator to dry for a few minutes. It should appear matte and not tacky to the touch.
e. Buffing and Shaping:
Use a buffer to gently buff the surface of your nails to create a smooth and even finish. Shape your nails using a nail file to achieve your desired shape and length.
f. Top Coat Application:
Apply a thin layer of top coat to each nail, starting from the cuticle area and brushing towards the tip. Allow the top coat to dry completely, which usually takes a few minutes.
Tips for Maintaining and Removing Dip Nails
To ensure the longevity of your dip nails, follow these tips for maintenance and removal:
Nail care routine: Regularly moisturize your nails and cuticles to keep them hydrated and healthy. Avoid excessive exposure to water and harsh chemicals that may weaken the manicure.
Avoid picking or peeling: Resist the urge to pick or peel off your dip nails, as this can damage the natural nail surface. If you experience any lifting or chipping, seek professional assistance or follow proper removal techniques.
Professional removal: When it’s time to remove your dip nails, it’s recommended to seek professional help or use a dip nail removal kit. Improper removal can lead to nail damage or weakening.
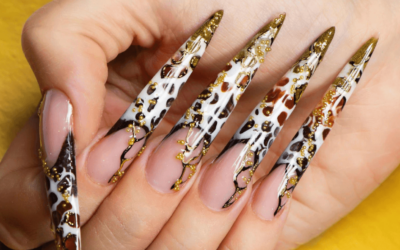
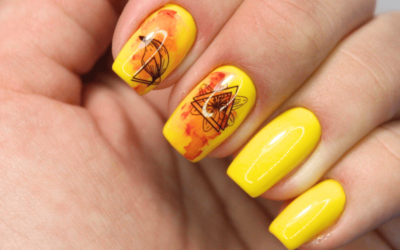
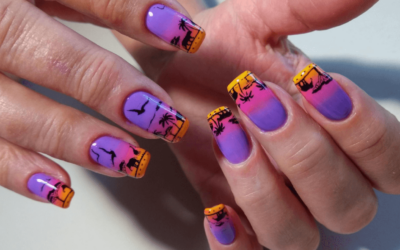
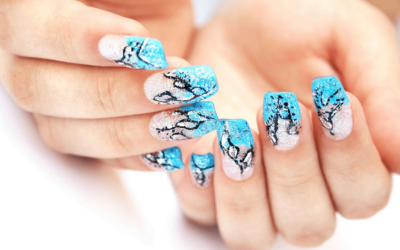
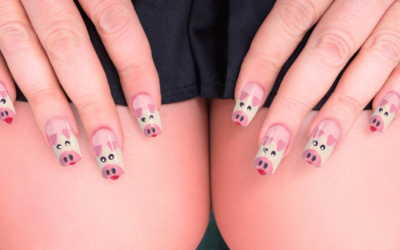
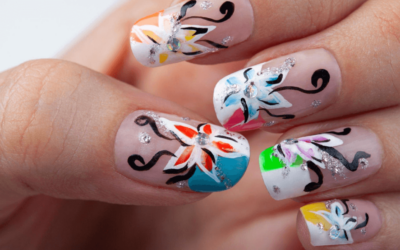
Exploring Dip Nail Variations and Nail Art
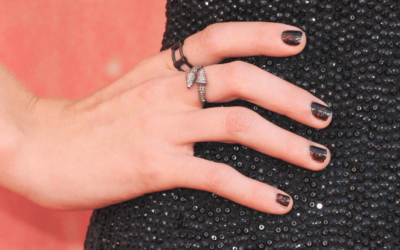
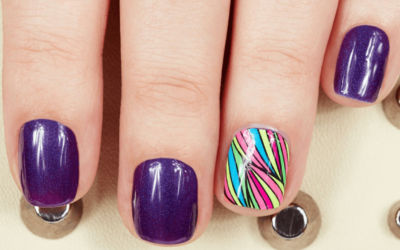
One of the exciting aspects of dip nails is the ability to experiment with different colors, finishes, and nail art designs.
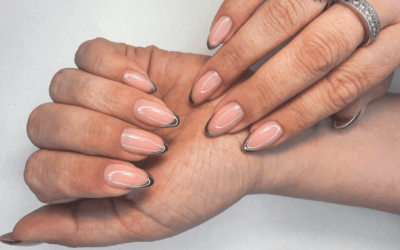
From ombre gradients to French tips and intricate nail art, dip nails offer endless possibilities to express your creativity. Explore various dip nail variations and try out different techniques to elevate your manicure.
Conclusion
Dip nails provide a convenient and long-lasting solution for achieving beautiful and salon-quality manicures.
By following the step-by-step instructions provided in this guide and using the necessary supplies, you can master the art of dip nails in the comfort of your own home.
Remember to practice proper nail care and maintenance to ensure the longevity of your dip manicure. So, go ahead and dive into the world of dip nails, unleash your creativity, and enjoy stunning nails that are sure to turn heads!
Related Articles
What Are the Nail Care Tools: A Comprehensive Guide
Sunflower Acrylic Nails: Nature’s Radiance on Your Fingertips
Sunset Nail Design: Artistry of Dusk on Your Fingertips
Taylor Swift’s Nails: A Fashionable Journey through Iconic Manicures

Teddy Bear Nails: Adorable Nail Art with Cuddly Charm
Tico Nails: Pura Vida Vibe with Costa Rican Nail Art
Toe Nail Designs with Flowers: Nature’s Beauty on Your Toes
Toe Nail Designs With Rhinestones: Sparkle and Glamor for Your Toes
Toe Nail Doctor: Expert Care for Healthy and Beautiful Toenails
Trendy Medium Length Square Acrylic Nails
Trippy Smiley Face Nails: Psychedelic Nail Art for a Colorful Journey
Tropical Beach Themed Nails: Paradise with Stunning Nail Art

Two-Tone Ombre Almond Nails: A Stylish Fusion of Nail Trend
Types of Nail Extensions: A Guide to Enhance Your Nail Beauty