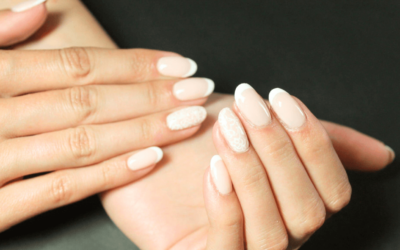
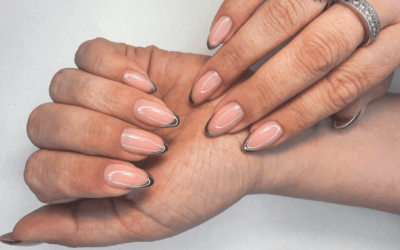
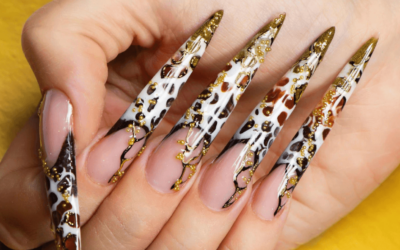
Are you a beginner looking to dip your toes into the world of nail art? Look no further! In this comprehensive guide, we’ll explore easy and beginner-friendly nail art techniques, tips, and designs that will help you unleash your creativity and achieve stunning nails.
Whether you’re a DIY enthusiast or aspiring nail artist, this article will provide you with the knowledge and inspiration to create beautiful nail art designs from the comfort of your own home.
Why Nail Art?
Nail art is a creative and expressive way to showcase your personal style and add flair to your overall look. It allows you to experiment with colors, patterns, and designs, transforming your nails into miniature works of art.
Nail art is not only visually appealing but also a form of self-expression and a confidence booster. With the right techniques and inspiration, you can create stunning nail art designs that will make heads turn.
Nail Art Essentials for Beginners
a. Nail Polish Collection
Start with Basics: Build your nail polish collection with essential shades like neutrals, pastels, and bold colors. These versatile colors will serve as the foundation for your nail art designs.
Invest in Nail Art Polish: Purchase a few bottles of nail art-specific polishes, such as striping polishes, glitter polishes, and stamping polishes. These specialized polishes are formulated to facilitate various nail art techniques.
b. Basic Nail Art Tools
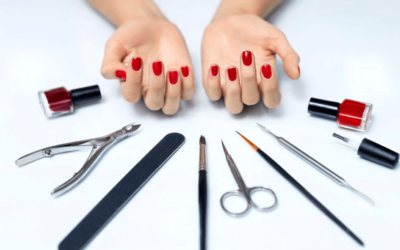
Dotting Tools: Dotting tools are essential for creating simple dots, flowers, and other circular designs.
Striping Brushes: Striping brushes allow you to create precise lines and stripes on your nails.
Sponges: Sponges are useful for creating gradient nail designs by blending different colors seamlessly.
Stamping Kit: A stamping kit consists of stamping plates, a stamper, and a scraper. It simplifies the process of transferring intricate designs onto your nails.
Nail Art Techniques for Beginners
a. Simple Dotting
Step 1: Apply a base color and let it dry completely.
Step 2: Dip a dotting tool into a contrasting nail polish color and create dots on your nails. Experiment with different sizes and arrangements to create unique patterns.
b. Easy Striping
Step 1: Apply a base color and let it dry completely.
Step 2: Use a striping brush dipped in a different color to create straight lines, stripes, or even intricate patterns on your nails.
c. Gradient Nails
Step 1: Apply a light base color and let it dry completely.
Step 2: Apply a small amount of two or three different colors onto a makeup sponge.
Step 3: Gently dab the sponge onto your nails in a rolling motion to achieve a gradient effect.
d. Stamp It Up
Step 1: Apply a base color and let it dry completely.
Step 2: Select a design from a stamping plate and apply a stamping polish to the design.
Step 3: Use the stamper to transfer the design onto your nails.
e. Nail Stickers and Decals
Step 1: Apply a base color and let it dry completely.
Step 2: Choose your desired nail stickers or decals and apply them onto your nails. Press gently to ensure they adhere well.
Tips for Successful Nail Art
a. Prep and Prime
Clean and Shape: Start with clean, well-shaped nails. Remove any old polish and shape your nails to your desired length and style.
Base Coat: Apply a base coat to protect your nails and create a smooth canvas for your nail art.
b. Choose the Right Colors
Color Contrast: Select colors that provide a good contrast to ensure your nail art designs stand out.
Color Harmony: Consider color harmony when creating your nail art. Choose complementary or analogous colors to create a cohesive and visually pleasing design.
c. Practice Makes Perfect
Start Simple: Begin with easy nail art designs and gradually progress to more complex ones as you gain confidence and experience.
Practice on Fake Nails: If you’re hesitant to experiment on your natural nails, practice your nail art techniques on fake nails or nail tips.
Easy Nail Art Designs for Beginners
a. Polka Dot Delight
Step 1: Apply a base color and let it dry completely.
Step 2: Use a dotting tool to create evenly-spaced polka dots on your nails.
b. Floral Accents
Step 1: Apply a base color and let it dry completely.
Step 2: Use a small brush or a dotting tool to create flower petals using different colors.
Step 3: Add a contrasting dot in the center of each flower to complete the design.
c. Geometric Vibes
Step 1: Apply a base color and let it dry completely.
Step 2: Use striping tape to create geometric shapes on your nails.
Step 3: Apply a different color to the exposed areas and carefully remove the tape to reveal the design.
d. Glitter Glam
Step 1: Apply a base color and let it dry completely.
Step 2: Apply a layer of clear nail polish and sprinkle glitter over the wet polish.
Step 3: Seal the design with a top coat to secure the glitter.
Inspiration from Social Media and Online Communities
Follow nail art enthusiasts on platforms like Instagram and Pinterest to gain inspiration for your nail art designs.
Join online nail art communities and forums where you can share your creations, seek advice, and learn from experienced nail artists.
Nail Art Maintenance and Longevity
a. Seal the Deal with a Top Coat
Apply a top coat to protect your nail art, add shine, and extend its longevity. Make sure to seal the edges of your nails to prevent chipping.
b. Protect Your Nail Art
Wear gloves when doing household chores or activities that may potentially damage your nail art. This will help preserve your designs and prevent them from getting damaged.
Conclusion
With the right techniques, tools, and a dash of creativity, creating stunning nail art designs can be an enjoyable and rewarding experience.
As a beginner, start with simple techniques and gradually build your skills and confidence. Remember to practice, experiment, and most importantly, have fun with your nail art journey.
So go ahead, unleash your inner artist, and let your nails become your canvas for self-expression and style!
