Are you tired of constantly buying lip balms that never quite meet your expectations? Why not try making your own? Creating a DIY lip balm allows you to customize the ingredients, scent, and texture to suit your preferences.
In this comprehensive guide, we’ll walk you through a simple yet effective recipe for a homemade lip balm that will leave your lips feeling nourished and hydrated.
Get ready to embark on a lip care adventure with our DIY recipe for lip balm.
Why Make Your Own Lip Balm?
Creating your own lip balm has numerous advantages. Let’s explore a few reasons why you should consider making your own lip care products:
Control Over Ingredients: When you make your own lip balm, you have complete control over the ingredients used.
You can opt for natural and nourishing components, avoiding harsh chemicals or artificial additives that may be present in store-bought options.
Customization: DIY lip balm allows you to customize the scent, flavor, and texture according to your preferences. You can create a lip balm that suits your unique tastes, making the lip care experience even more enjoyable.
Cost-Effective: Making your own lip balm can be a cost-effective option in the long run. Once you have the initial ingredients and tools, you can create multiple batches of lip balm at a fraction of the cost of store-bought alternatives.
Fun and Creative: Crafting your own lip balm is a fun and creative activity that allows you to express your personal style. You can experiment with different ingredients, colors, and packaging, making it a delightful and engaging experience.
Now that we’ve highlighted the benefits of DIY lip balm, let’s dive into the recipe and steps to create your very own homemade lip balm.
DIY Lip Balm Recipe
Ingredients:
★ 2 tablespoons beeswax
★ 2 tablespoons coconut oil
★ 1 tablespoon shea butter
★ 1 teaspoon vitamin E oil
★ Optional: 5-10 drops of essential oil for fragrance (e.g., lavender, peppermint, or citrus)
Equipment:
★ Double boiler or microwave-safe bowl
★ Heat-resistant spoon or spatula
★ Lip balm containers or small jars
★ Labels for customization
Instructions
Prepare Your Workstation
Set up your workstation by gathering all the ingredients and equipment required for the lip balm-making process. Ensure your work area is clean and sanitized to maintain hygiene.
Melt the Beeswax, Coconut Oil, and Shea Butter
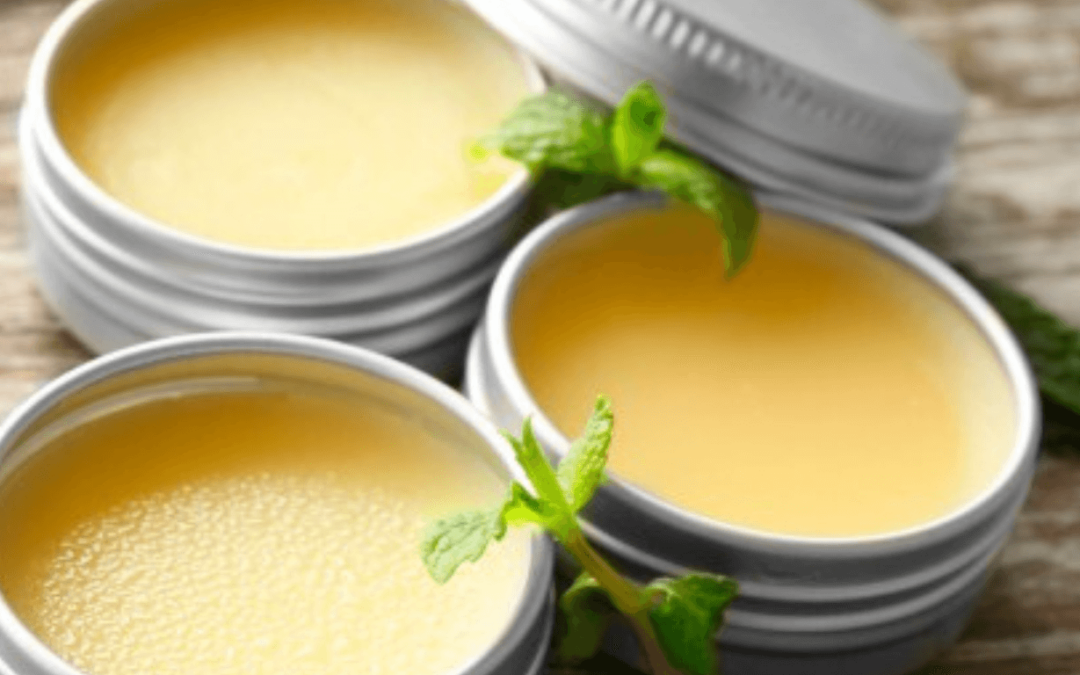
In a double boiler or a microwave-safe bowl, combine the beeswax, coconut oil, and shea butter. Gently heat the mixture until it melts completely, stirring occasionally with a heat-resistant spoon or spatula.
Add Vitamin E Oil and Essential Oil
Once the mixture has melted, remove it from the heat source and let it cool slightly. Add the vitamin E oil and your desired essential oil for fragrance. Stir well to ensure even distribution of the oils.
Pour into Lip Balm Containers
Carefully pour the melted lip balm mixture into lip balm containers or small jars. Fill each container to the top, leaving a small space for the lip balm to settle. Avoid overfilling to prevent spillage.
Allow the Lip Balm to Set
Let the lip balm containers sit undisturbed for about 30 minutes to an hour, allowing the mixture to solidify and set. During this time, the lip balm will transform into a smooth and creamy texture.
Label and Customize
Once the lip balm has solidified, you can add labels or customize the containers with your preferred designs. This step adds a personal touch and makes your lip balm uniquely yours.
Congratulations! You have successfully created your own homemade lip balm using a simple DIY recipe. Now, let’s explore some additional tips and variations to enhance your lip balm-making experience.
Tips and Variations
Experiment with Essential Oils: Essential oils not only add fragrance but also provide additional benefits.
Lavender oil promotes relaxation, peppermint oil gives a refreshing sensation, and citrus oils offer a burst of energy. Feel free to mix and match essential oils to create your desired scent.
Add Natural Color: If you prefer a tinted lip balm, you can incorporate natural colorants such as beetroot powder, cocoa powder, or mica powder.
Start with a small amount and gradually increase until you achieve the desired hue.
Explore Different Butters and Oils: While this recipe uses coconut oil and shea butter, you can explore other options like cocoa butter, mango butter, almond oil, or jojoba oil.
Each ingredient brings its unique properties and benefits to the lip balm.
Adjust Consistency: If you prefer a softer or firmer lip balm, you can adjust the ratio of beeswax to oils/butters. More beeswax creates a firmer texture, while less beeswax results in a softer consistency.
Hygiene and Storage: To ensure the longevity and hygiene of your homemade lip balm, use clean and sanitized containers for storage. Avoid introducing moisture or contaminants, as they can affect the quality and shelf life of the lip balm.
Conclusion
Creating your own lip balm with this DIY recipe allows you to enjoy the benefits of natural, nourishing ingredients tailored to your preferences.
You have the freedom to customize the scent, texture, and even the packaging, making the lip care experience truly delightful.
By making your own lip balm, you take control of what you apply to your lips, ensuring they stay moisturized, protected, and beautiful.
Now it’s time to gather the ingredients, unleash your creativity, and embark on your lip balm-making journey. Get ready to indulge in the joy of soft, nourished lips with your very own homemade lip balm.
