Are you tired of your eyeshadow disappearing or smudging throughout the day? Do you struggle to achieve that coveted professional eye look? If so, it’s time to focus on the eyeshadow crease technique.
Mastering this technique will elevate your eye makeup game and give you the confidence to create stunning eye looks that last all day.
In this comprehensive guide, we’ll delve into the art of defining the crease, choosing the right eyeshadow shades, and various tips and tricks to help you perfect this technique. Let’s dive in!
Understanding the Eyeshadow Crease
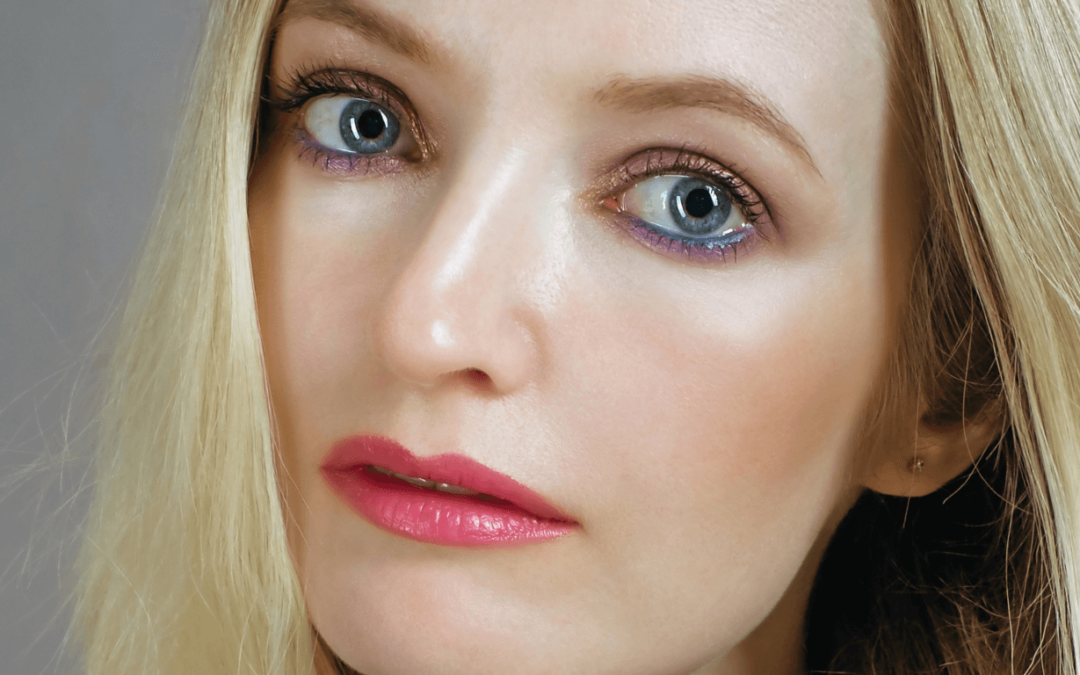
The eyeshadow crease refers to the natural fold or indentation on your eyelid, located above the mobile lid and below the brow bone.
By strategically applying eyeshadow to this area, you can add depth, dimension, and definition to your eyes. The crease technique allows you to create various eye looks, from subtle and natural to dramatic and bold.
Choosing the Right Eyeshadow Shades
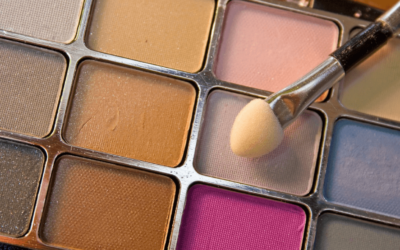
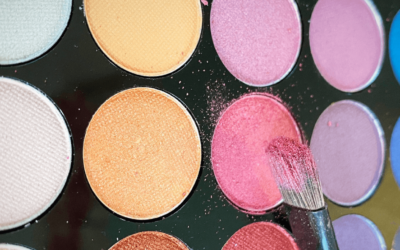
Selecting the right eyeshadow shades is crucial for a successful crease technique. Here are some considerations when choosing shades:
Transition Shade: Begin by selecting a transition shade that is one to two shades darker than your skin tone. This shade will help blend the crease color seamlessly with the rest of your eye makeup.
Crease Color: Choose a crease color that complements your eye color and desired look. For example, warm browns, deep purples, or rich bronzes work well for creating a classic crease. Experiment with different shades to find what suits you best.
Highlight Shade: Opt for a light, shimmery shade or a matte highlight color to accentuate the brow bone and create a lift to the eye area. This shade should be lighter than your skin tone to add brightness and dimension.
Techniques for Applying Eyeshadow to the Crease
Now that we’ve covered the basics, let’s explore different techniques for applying eyeshadow to the crease:
Traditional Crease Technique
The traditional crease technique involves the following steps:
Step 1: Apply a transition shade on the entire crease area using a fluffy blending brush. Use windshield wiper motions to blend the color back and forth.
Step 2: Intensify the crease by layering a deeper shade over the transition shade. Focus the color on the outer part of the crease and blend it inward using a smaller, tapered blending brush. This step adds dimension and creates a gradient effect.
Step 3: Use a clean blending brush to soften any harsh lines and ensure a seamless transition between the colors.
Step 4: Apply a highlight shade on the brow bone and inner corner to brighten and lift the eye area.
Cut Crease Technique
The cut crease technique creates a defined and sharp crease line. Here’s how to achieve it:
Step 1: Apply an eyeshadow primer or a concealer on the entire lid, extending it slightly above the natural crease line. This step creates a blank canvas for the cut crease.
Step 2: Using a small, flat brush, carefully draw a line along the crease using a matte shade that contrasts with your lid color. Take your time to ensure a precise and clean line.
Step 3: Blend the crease color inward, softening the line while maintaining the defined crease shape. Use a fluffy blending brush for a seamless transition.
Step 4: Apply a shimmer or metallic shade on the lid, below the crease, to add depth and contrast.
Halo Eye Technique
The halo eye technique creates a captivating, multi-dimensional effect. Follow these steps to achieve the halo eye look:
Step 1: Apply a transition shade in the crease area, blending it softly.
Step 2: Use a deeper shade to create a halo shape on the outer and inner corners of the lid, leaving the center of the lid empty.
Step 3: Apply a lighter, shimmery shade or a pop of color to the center of the lid, using your finger or a flat shader brush. This step creates the halo effect.
Step 4: Blend the colors together, ensuring a seamless transition and soft edges.
Tips and Tricks for Perfecting the Eyeshadow Crease Technique
To take your eyeshadow crease technique to the next level, consider the following tips and tricks:
Blend, Blend, Blend: Seamless blending is the key to a flawless crease. Take your time and blend the eyeshadows using gentle, circular motions for a smooth transition between colors.
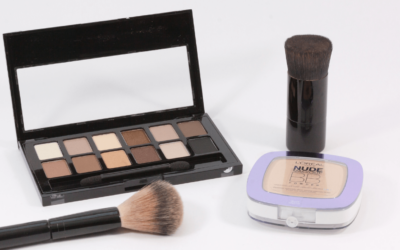
Use the Right Brushes: Investing in quality eyeshadow brushes will make a significant difference in your crease technique.
Fluffy blending brushes, tapered blending brushes, and flat shader brushes are essential tools for achieving a professional look.
Layering and Building: Don’t be afraid to layer and build the intensity of the crease color gradually. Start with a light hand and build up the color to achieve your desired effect.
Experiment with Different Finishes: Matte, shimmer, and metallic finishes can create different effects in the crease. Experiment with different finishes to add dimension and enhance your overall eye look.
Practice Makes Perfect: Like any makeup technique, mastering the eyeshadow crease requires practice. Take the time to experiment, play with different color combinations, and refine your skills.
Remember, the eyeshadow crease technique is a versatile and creative way to enhance your eye makeup. Whether you prefer subtle and natural looks or bold and dramatic effects, mastering this technique will open up a world of possibilities.
With the right shades, proper application techniques, and a little practice, you’ll soon be creating eye looks that turn heads.
So go ahead, embrace the art of the eyeshadow crease and unlock your eye makeup potential. Your eyes will thank you!
Now, armed with this extensive guide, you have all the knowledge you need to create stunning eyeshadow crease looks using various techniques. Incorporate relevant keywords naturally throughout the content to optimize its ranking on search engines.
Happy reading and have fun experimenting with your eyeshadow crease technique!

