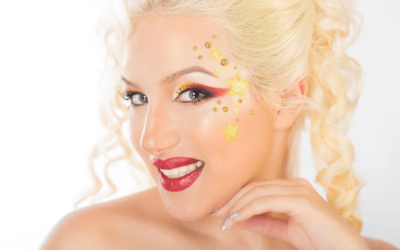
Are you ready to transform into a hauntingly beautiful creature of the night? If you’re looking to achieve a truly spine-chilling and captivating look for Halloween or a costume party, then zombie bride makeup is the perfect choice.
With its combination of ghostly pallor, decaying flesh, and eerie details, this makeup style will turn you into a mesmerizing undead beauty.
We will guide you through the step-by-step process of creating an unforgettable zombie bride look. Get ready to scare and enchant in equal measure.
The Ghostly Base: From Radiant to Pallid
The key to achieving an authentic zombie bride look lies in transforming your complexion from radiant to ghostly. Follow these steps to create the perfect undead base:
Step 1: Prepare Your Skin: Start by thoroughly cleansing your face and applying a moisturizer. This will ensure a smooth and even application of makeup.
Step 2: Foundation: Choose a foundation several shades lighter than your natural skin tone. Apply it evenly across your face and neck using a damp makeup sponge or a foundation brush. Blend it well to achieve a seamless, pale base.
Step 3: Conceal Imperfections: Conceal any dark circles, blemishes, or discoloration using a high-coverage concealer. Pat it gently onto the areas that need extra coverage and blend it seamlessly into the foundation.
Step 4: Set with Powder: To set your foundation and achieve a matte finish, dust a translucent powder all over your face. This will help the makeup last longer and prevent any shine.
Contouring and Highlighting: Creating Depth and Decay
To give your zombie bride look a more three-dimensional and eerie effect, contouring and highlighting are essential. Follow these steps to add depth and decay to your appearance:
Step 1: Contouring: Use a cool-toned, matte bronzer or eyeshadow to create shadows on your face. Apply it along the hollows of your cheeks, temples, jawline, and the sides of your nose to create a sunken and skeletal effect.
Blend the contouring product thoroughly to ensure a natural-looking result.
Step 2: Highlighting: Apply a light, shimmery highlighter to the high points of your face, such as the tops of your cheekbones, the bridge of your nose, and the center of your forehead. This will enhance the bone structure and create a hauntingly ethereal glow.
Sunken Eyes and Hollow Cheeks: The Signs of Death
The eyes and cheeks are the focal points of a zombie bride’s face, showcasing the signs of death and decay. Follow these steps to achieve the desired effect:
Step 1: Dark Circles: Use a dark eyeshadow or black face paint to create deep, sunken circles around your eyes. Apply the color with a small brush or sponge, blending it outward to create a bruised and hollow appearance.
Step 2: Emphasize the Cheekbones: Apply a dark, cool-toned blush or eyeshadow underneath your cheekbones to create a gaunt and skeletal effect. Blend it well to create a subtle, hollowed-out look.
Decaying Lips and Veins: The Finishing Touches
To complete your zombie bride transformation, focus on creating decaying lips and eerie veins. Follow these steps for the final touches:
Step 1: Discolored Lips: Apply a dark, burgundy or black lipstick to create a decaying effect on your lips. Smudge the color outward from the center of your lips for a blurred and faded appearance. You can also add a touch of red or purple around the edges to mimic dried blood.
Step 2: Veins and Blood: Using a thin brush or a fine-tipped eyeliner pen, draw veins on your temples, neck, and hands using dark red or blue face paint. Blend the lines slightly to make them look more natural.
For an extra gruesome touch, add splatters of fake blood to mimic wounds or bites.
Now that you’ve mastered the art of zombie bride makeup, it’s time to put on your tattered wedding dress, adorn yourself with creepy accessories, and embrace the darkness within.
Let your undead beauty shine through and captivate everyone around you. Remember, the key to achieving the perfect zombie bride look is to get creative, experiment, and have fun with the process.
