Welcome to the glamorous world of the 1920s flapper! The Roaring Twenties was an iconic era known for its extravagant parties, jazz music, and rebellious fashion.
One of the most captivating aspects of the time was the distinctive makeup styles embraced by flapper women. The secrets of achieving authentic 1920s flapper makeup looks. Get ready to transport yourself to the glitz and glamour of the Gatsby era.
The Smoldering Eyes: Dark and Sultry
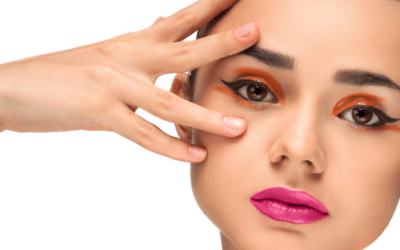
When it comes to 1920s flapper makeup, the eyes take center stage. The flapper look is characterized by a dark, smoldering gaze that exudes mystery and allure. To achieve this captivating eye makeup, follow these steps:
Step 1: Flawless Base: Start by creating a flawless canvas with a matte foundation or a powder. Flapper makeup was all about a porcelain-like complexion, so choose a foundation shade that matches your skin tone and provides a smooth finish.
Step 2: Deep, Smoky Eyeshadow: Apply a dark, matte eyeshadow in shades of charcoal, deep brown, or navy blue to the entire eyelid. Use a small, dense brush to pack the color onto the lid and blend it slightly upward toward the crease.
Step 3: Defined Crease: Define the crease of your eye with a slightly lighter shade of eyeshadow, such as a medium brown or taupe. Apply the color to the crease using a fluffy brush, blending it softly to create depth and dimension.
Step 4: Winged Eyeliner: The signature flapper look is incomplete without a winged eyeliner. Use a black liquid or gel eyeliner to create a dramatic winged shape, extending the line beyond the outer corner of your eye. Keep the line thin and precise for an authentic flapper aesthetic.
Step 5: Intensify with Mascara: Flapper makeup embraced long, defined lashes. Apply several coats of lengthening mascara to both your upper and lower lashes to enhance their impact. Consider using individual false lashes for a more dramatic effect.
Step 6: Defined Brows: Flapper eyebrows were thin and highly arched. Use an eyebrow pencil or powder to shape and define your brows, creating a pronounced arch. Keep in mind that the goal is to achieve a thin and angular shape rather than a natural and full look.
Bold and Alluring Lips: The Perfect Cupid’s Bow
Flapper makeup often featured bold and defined lips, with the signature Cupid’s bow shape stealing the show. To achieve this glamorous lip look, follow these steps:
Step 1: Exfoliate and Moisturize: Start by exfoliating your lips with a gentle scrub to remove any dry skin. Apply a lip balm to moisturize and soften your lips before applying lipstick.
Step 2: Lip Liner: Use a lip liner in a shade that matches your lipstick to outline your lips. Begin by defining the Cupid’s bow, emphasizing the two peaks in the center of your upper lip. Then carefully outline the rest of your lips, following their natural shape.
Step 3: Bold Lipstick: Choose a bold and vibrant lipstick shade to complete your flapper look. Classic colors of the 1920s included deep reds, plum, and dark berries. Apply the lipstick directly from the bullet or use a lip brush for precision.
Step 4: Blot and Reapply: After applying the first coat of lipstick, blot your lips gently with a tissue to remove any excess product. Then reapply another layer for a more intense and long-lasting color.
Step 5: Highlight the Cupid’s Bow: To enhance the shape of your Cupid’s bow, use a small brush or your fingertip to apply a light-reflecting highlighter or a shimmery eyeshadow to the peaks of your upper lip. This will add dimension and draw attention to your lips.
Flawless Complexion: The Porcelain Glow
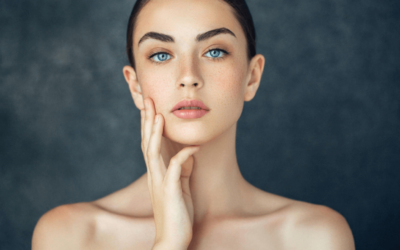
Flapper makeup emphasized a flawless and porcelain-like complexion. Achieve the coveted flapper glow with the following steps:
Step 1: Prep and Prime: Start by cleansing and moisturizing your face. Apply a primer to create a smooth base for your foundation and help your makeup last longer.
Step 2: Matte Foundation: Choose a matte or semi-matte foundation that matches your skin tone. Apply it evenly using a brush, sponge, or your fingertips. Blend it well, ensuring a seamless finish.
Step 3: Conceal Imperfections: Use a creamy concealer to cover any blemishes, dark circles, or redness. Dab it gently onto the problem areas and blend it with your foundation for a seamless result.
Step 4: Set with Powder: To achieve a matte and long-lasting finish, dust a translucent powder all over your face, focusing on the T-zone. This will help control shine and set your foundation in place.
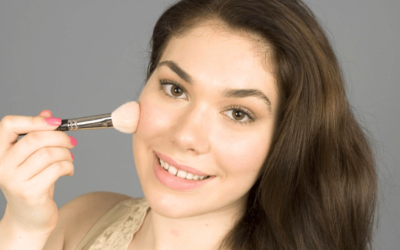
Step 5: Soft Blush: Flapper makeup featured a subtle flush of color on the cheeks. Choose a soft, rosy blush and apply it to the apples of your cheeks, blending it gently toward your temples. Keep the application light to maintain the natural and youthful glow.
The Finishing Touches: Sparkling Accents
To truly capture the essence of flapper makeup, consider adding a touch of sparkle and glamour to your look:
Step 1: Shimmering Eyeshadow: For an extra touch of sparkle, apply a shimmery eyeshadow or a glittery eyeshadow to the center of your eyelid. This will catch the light and add a mesmerizing effect to your eyes.
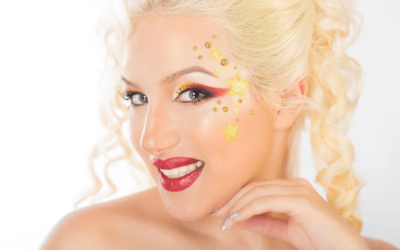
Step 2: Rhinestones or Sequins: Flapper makeup often incorporated decorative elements such as rhinestones or sequins. Adorn your eyes or cheeks with small, adhesive rhinestones for a whimsical and enchanting touch.
Step 3: Statement Headpiece: Complete your flapper look with a statement headpiece, such as a feathered headband, a bejeweled hairpin, or an elaborate hat.
These accessories were synonymous with the flapper fashion and added an extra dose of glamour to the overall appearance.
Now that you’re armed with the secrets of achieving authentic 1920s flapper makeup, it’s time to unleash your inner Gatsby girl. Embrace the smoldering eyes, bold lips, and flawless complexion, and transport yourself to the dazzling world of the Roaring Twenties.
Let the spirit of the flappers guide your makeup artistry and evoke the timeless allure of this iconic era.
